Struggling to set up your Orbi router or not getting the coverage you expected? We’re here to help. Our experts provide fast, secure, and hassle-free Orbi router setup so you can enjoy seamless whole-home WiFi without the frustration.
From installation and satellite syncing to optimization and troubleshooting, we handle it all. Reach out today and get your Orbi WiFi
We handle everything:
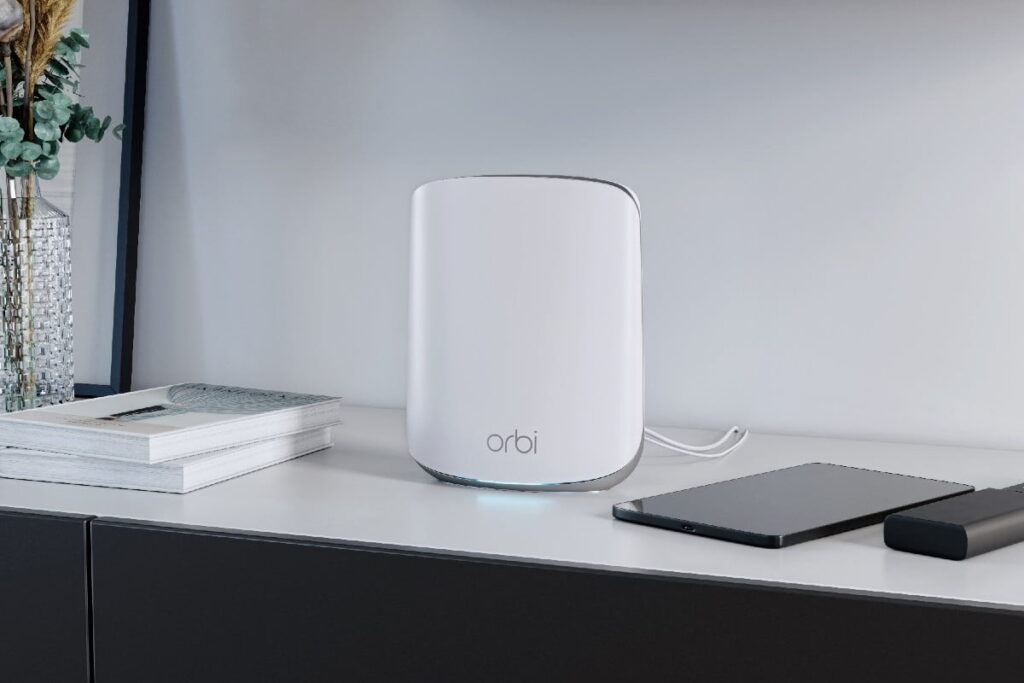
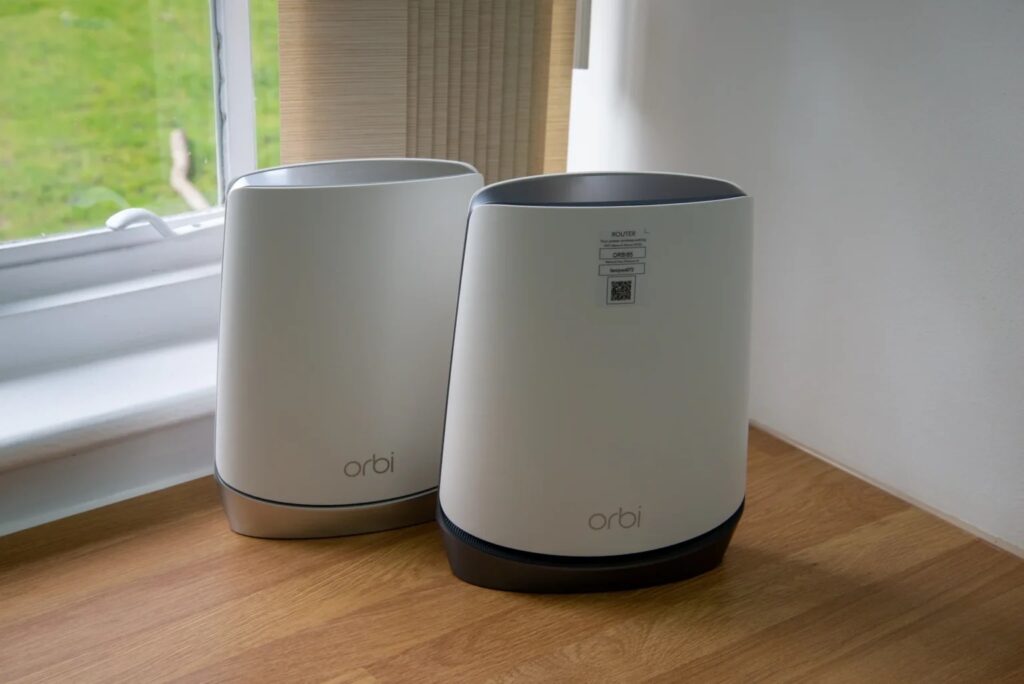
📡 Optimal placement of Orbi router & satellites
⚙️ Full setup, configuration, and updates
🔒 Secure network & password setup
📱 Connect all your devices (phones, TVs, smart home, work devices)
🚀 Speed and coverage testing throughout your home
🧠 Quick walkthrough so you know how to manage it easily
No guessing. No frustration. No hours on tech support.
Disclaimer:
This installation service is provided by an independent third party and is not affiliated with, endorsed by, or sponsored by NETGEAR®, Orbi®, or any related brands. All trademarks, product names, and logos are the property of their respective owners. The Orbi system and related equipment are sold separately. Service covers installation and basic configuration only and does not guarantee specific internet speeds or performance, which may vary based on internet service provider, home layout, and connected devices.